Learn how to create a new Selenium Gradle project in Eclipse and command line. This step-by-step guide will help you set up your project quickly and efficiently, enabling you to leverage the power of Gradle and Selenium for seamless test automation.
Table of Contents
How to create a new Selenium Gradle project using command line?
You can also use Gradle to create a new Selenium project. The following steps show how to create a new Selenium project using Gradle:
- Create a new directory for your project.
- Open a terminal window and navigate to the directory you created in Step 1.
- Run the following command to create a new Gradle project:
gradle init --type java-library
This command will create a new project with the following directory structure:
selenium-project
├── build.gradle
└── src
    └── main
        ├── java
        │   └── com
        │       └── example
        │           └── App.java
        └── resources
The build.gradle file contains the project’s dependencies. The App.java file contains a simple example of a Selenium test.
To run the test, you can use the following command:
gradle test
This command will compile the project, run the tests, and generate a report.
How to install Gradle in Eclipse?
To install Gradle in Eclipse, you can use the Buildship plugin, which provides Gradle integration for the Eclipse IDE. Follow these steps to install Gradle in Eclipse using Buildship:
Step 1: Open Eclipse IDE.
Step 2: Go to “Help” -> “Eclipse Marketplace” in the top menu.
Step 3: In the “Eclipse Marketplace” dialog, search for “Buildship” using the search bar on the top right.
Step 4: From the search results, select “Buildship Gradle Integration” and click on the “Go” button.
Step 5: On the next screen, click the “Go to the marketplace” link next to “Buildship Gradle Integration.”
Step 6: Click on the “Install” button next to the “Buildship Gradle Integration” entry.
Step 7: Read and accept the terms of the license agreement and click on the “Finish” button.
Step 8: Eclipse will download and install the Buildship plugin. After installation, click the “Restart Now” button to restart Eclipse.
Step 9: After Eclipse restarts, you can verify that the Buildship plugin is installed by going to “Window” -> “Preferences” and searching for “Gradle” in the search bar on the top left. If you see “Gradle” under “Buildship,” it means the plugin is installed successfully.
Now that you have installed Buildship, you can import and work with Gradle projects in Eclipse. You can import existing Gradle projects or create new ones using the Gradle nature provided by the Buildship plugin.
How to create a new Selenium Gradle project using Eclipse?
The following steps show how to create a new Selenium gradle project using Eclipse:
Step 1: Open Eclipse IDE.
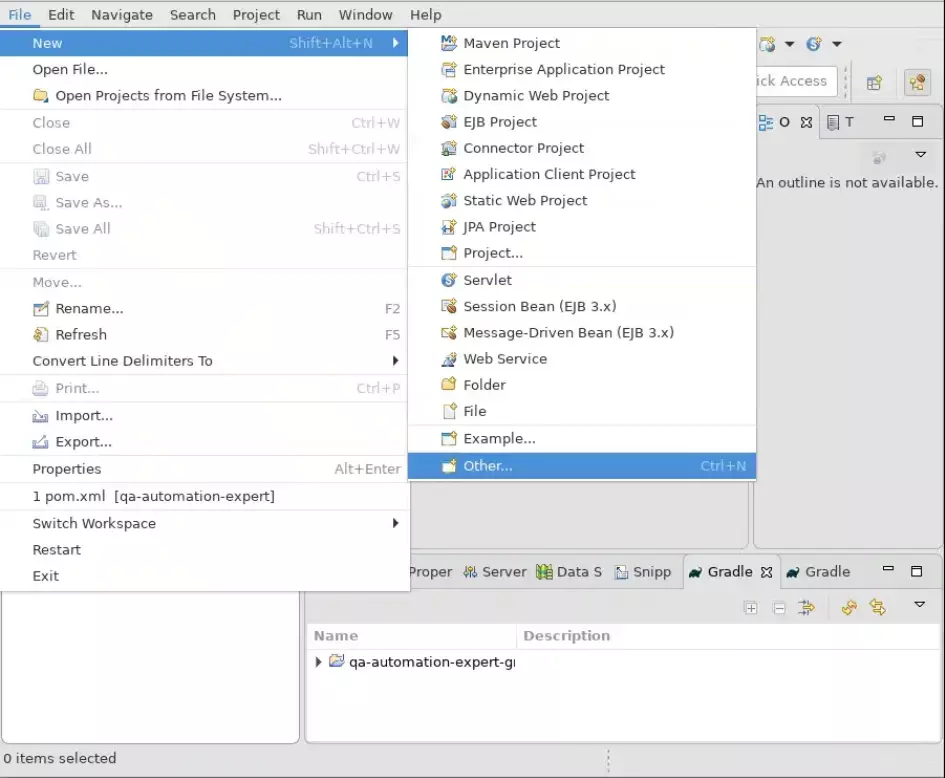
Step 2: Go to “File” -> “New” -> “Other”
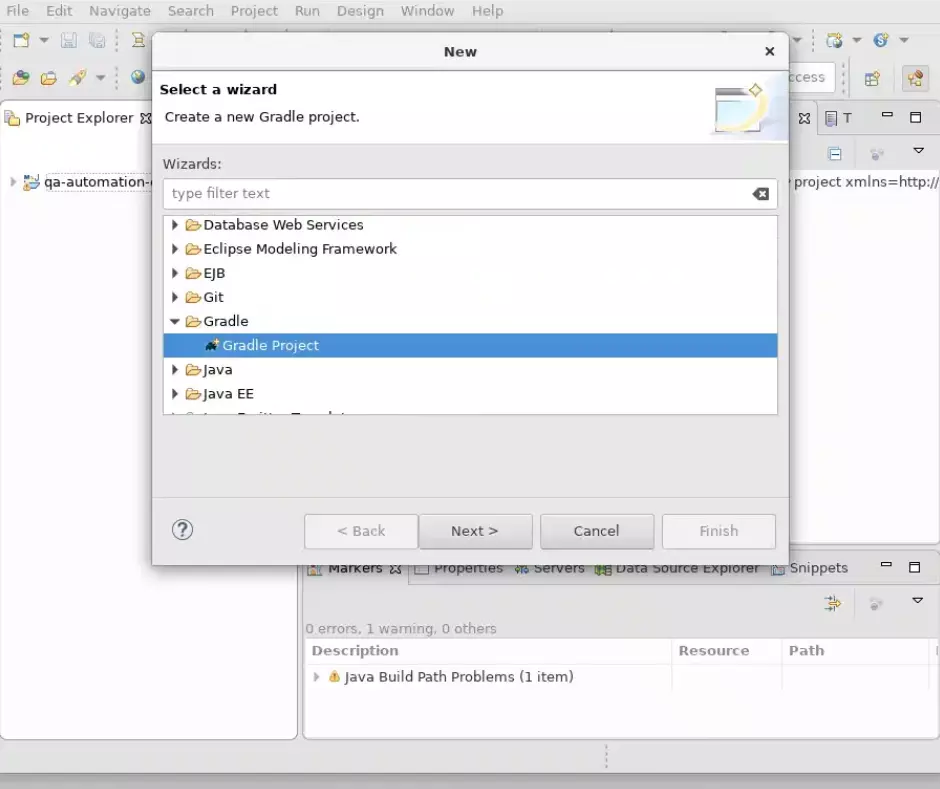
Step 3: Select a Wizard as “Gradle” -> Gradle Project
Step 4: Click on “Next” -> “Next”
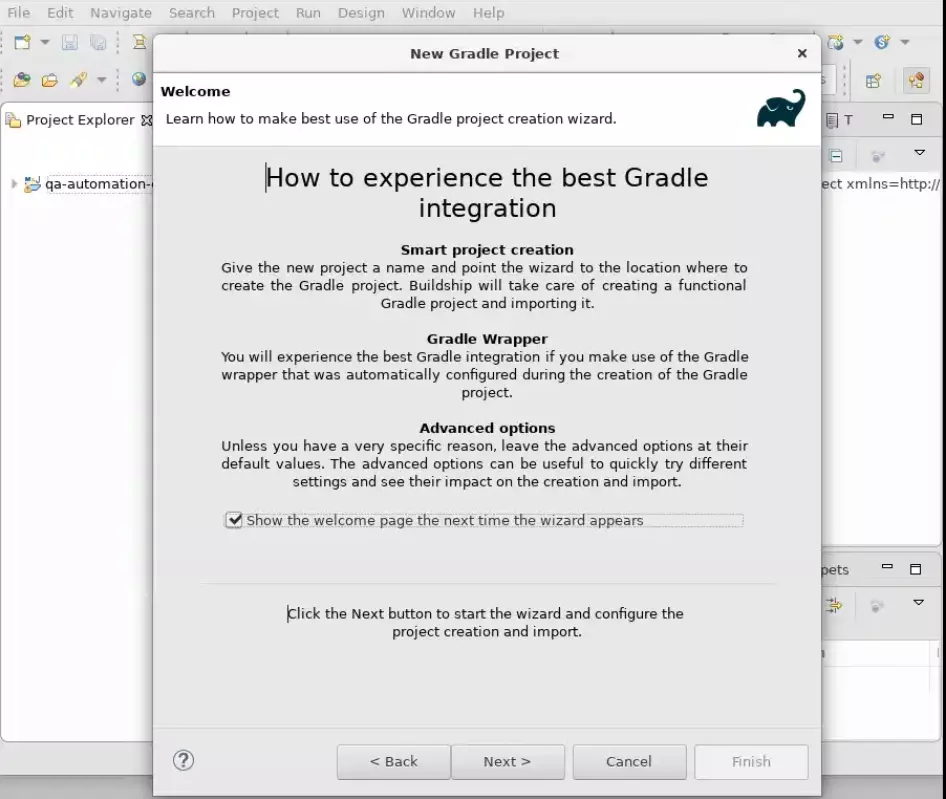
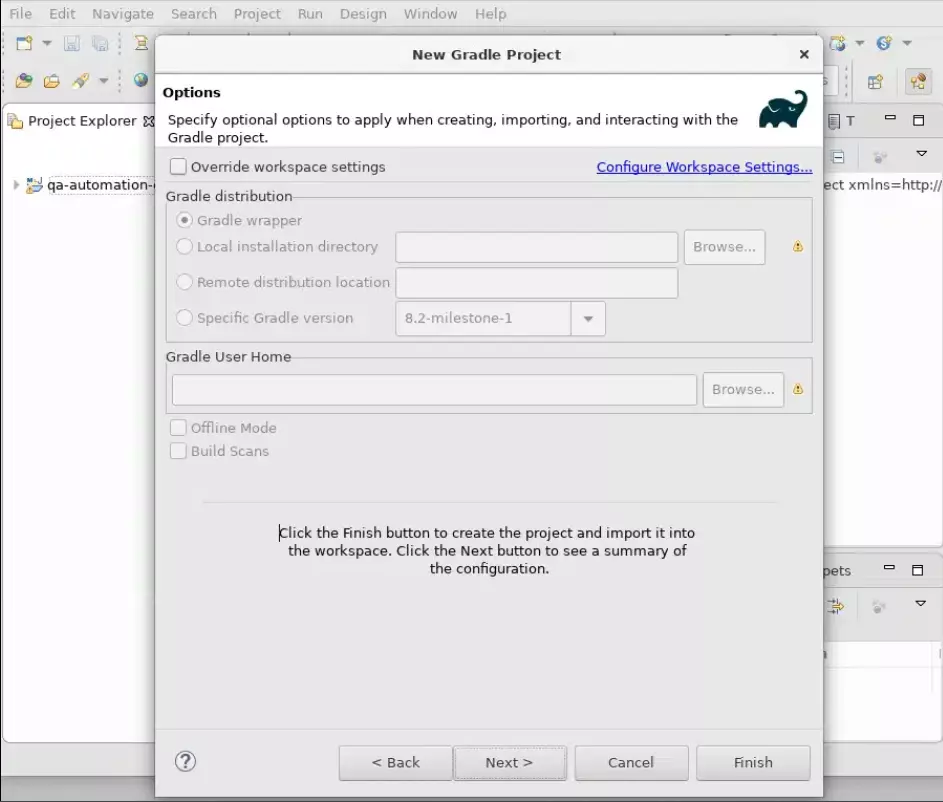
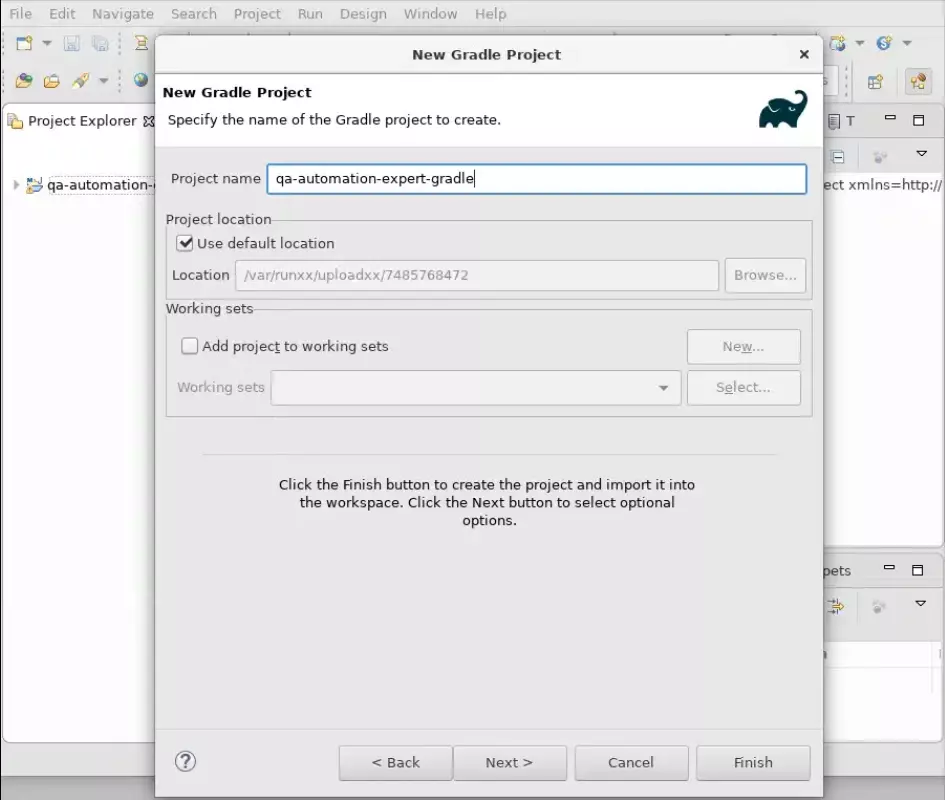
Step 5: Enter “Project name” and select gradle project location
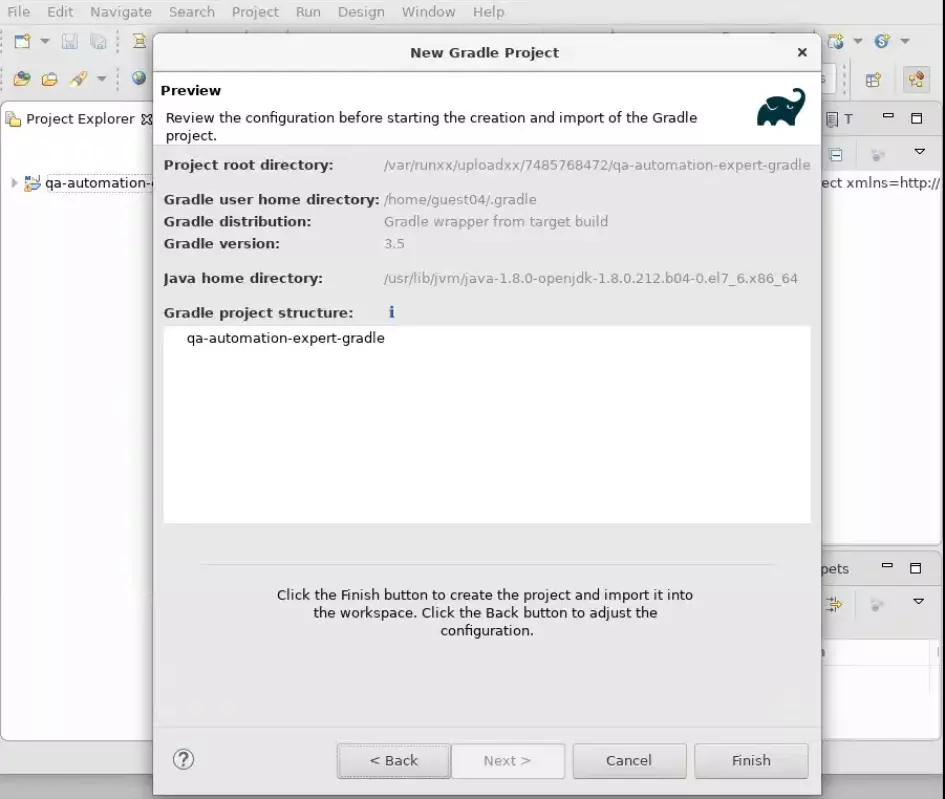
Step 6: Click on “Next”
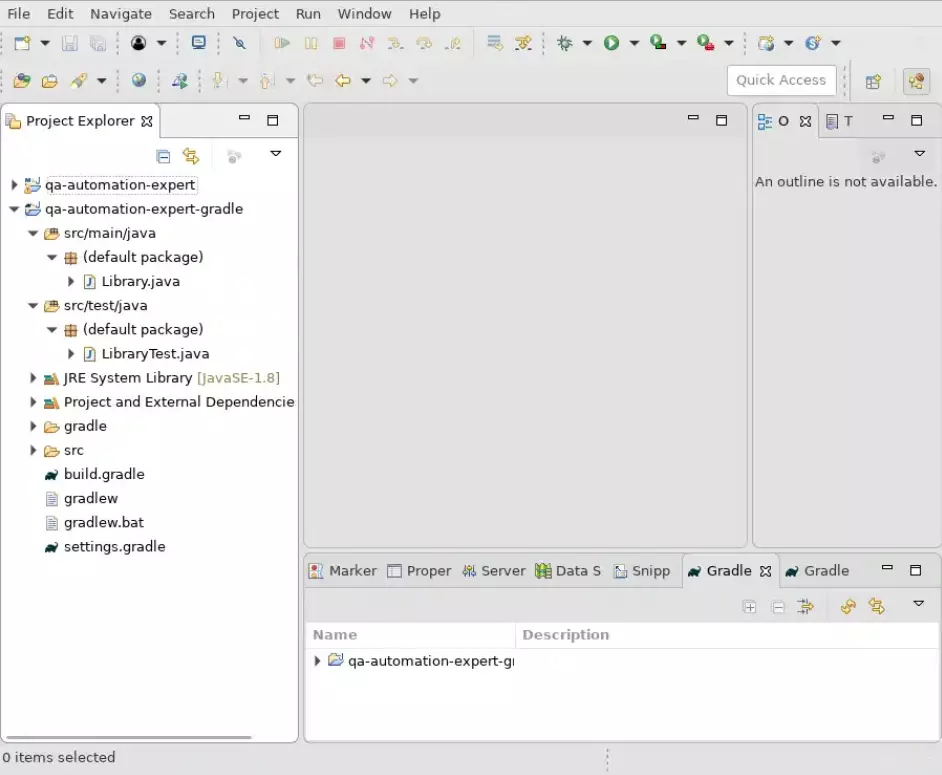
The project will open with the below gradle project structure.
Step 7: Add the below content in build.gradle file
plugins {
    id 'java'
}

repositories {
    jcenter()
}

dependencies {
    testImplementation 'junit:junit:4.13'
    implementation 'org.seleniumhq.selenium:selenium-java:3.14.0'
}
FAQ?
How to download Eclipse for Java?
Eclipse can be downloaded from the official website: eclipse java download


Leave a Reply